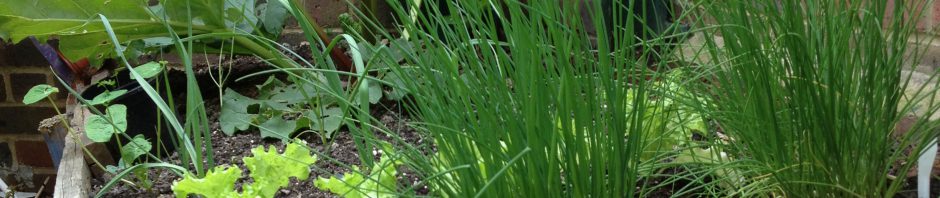
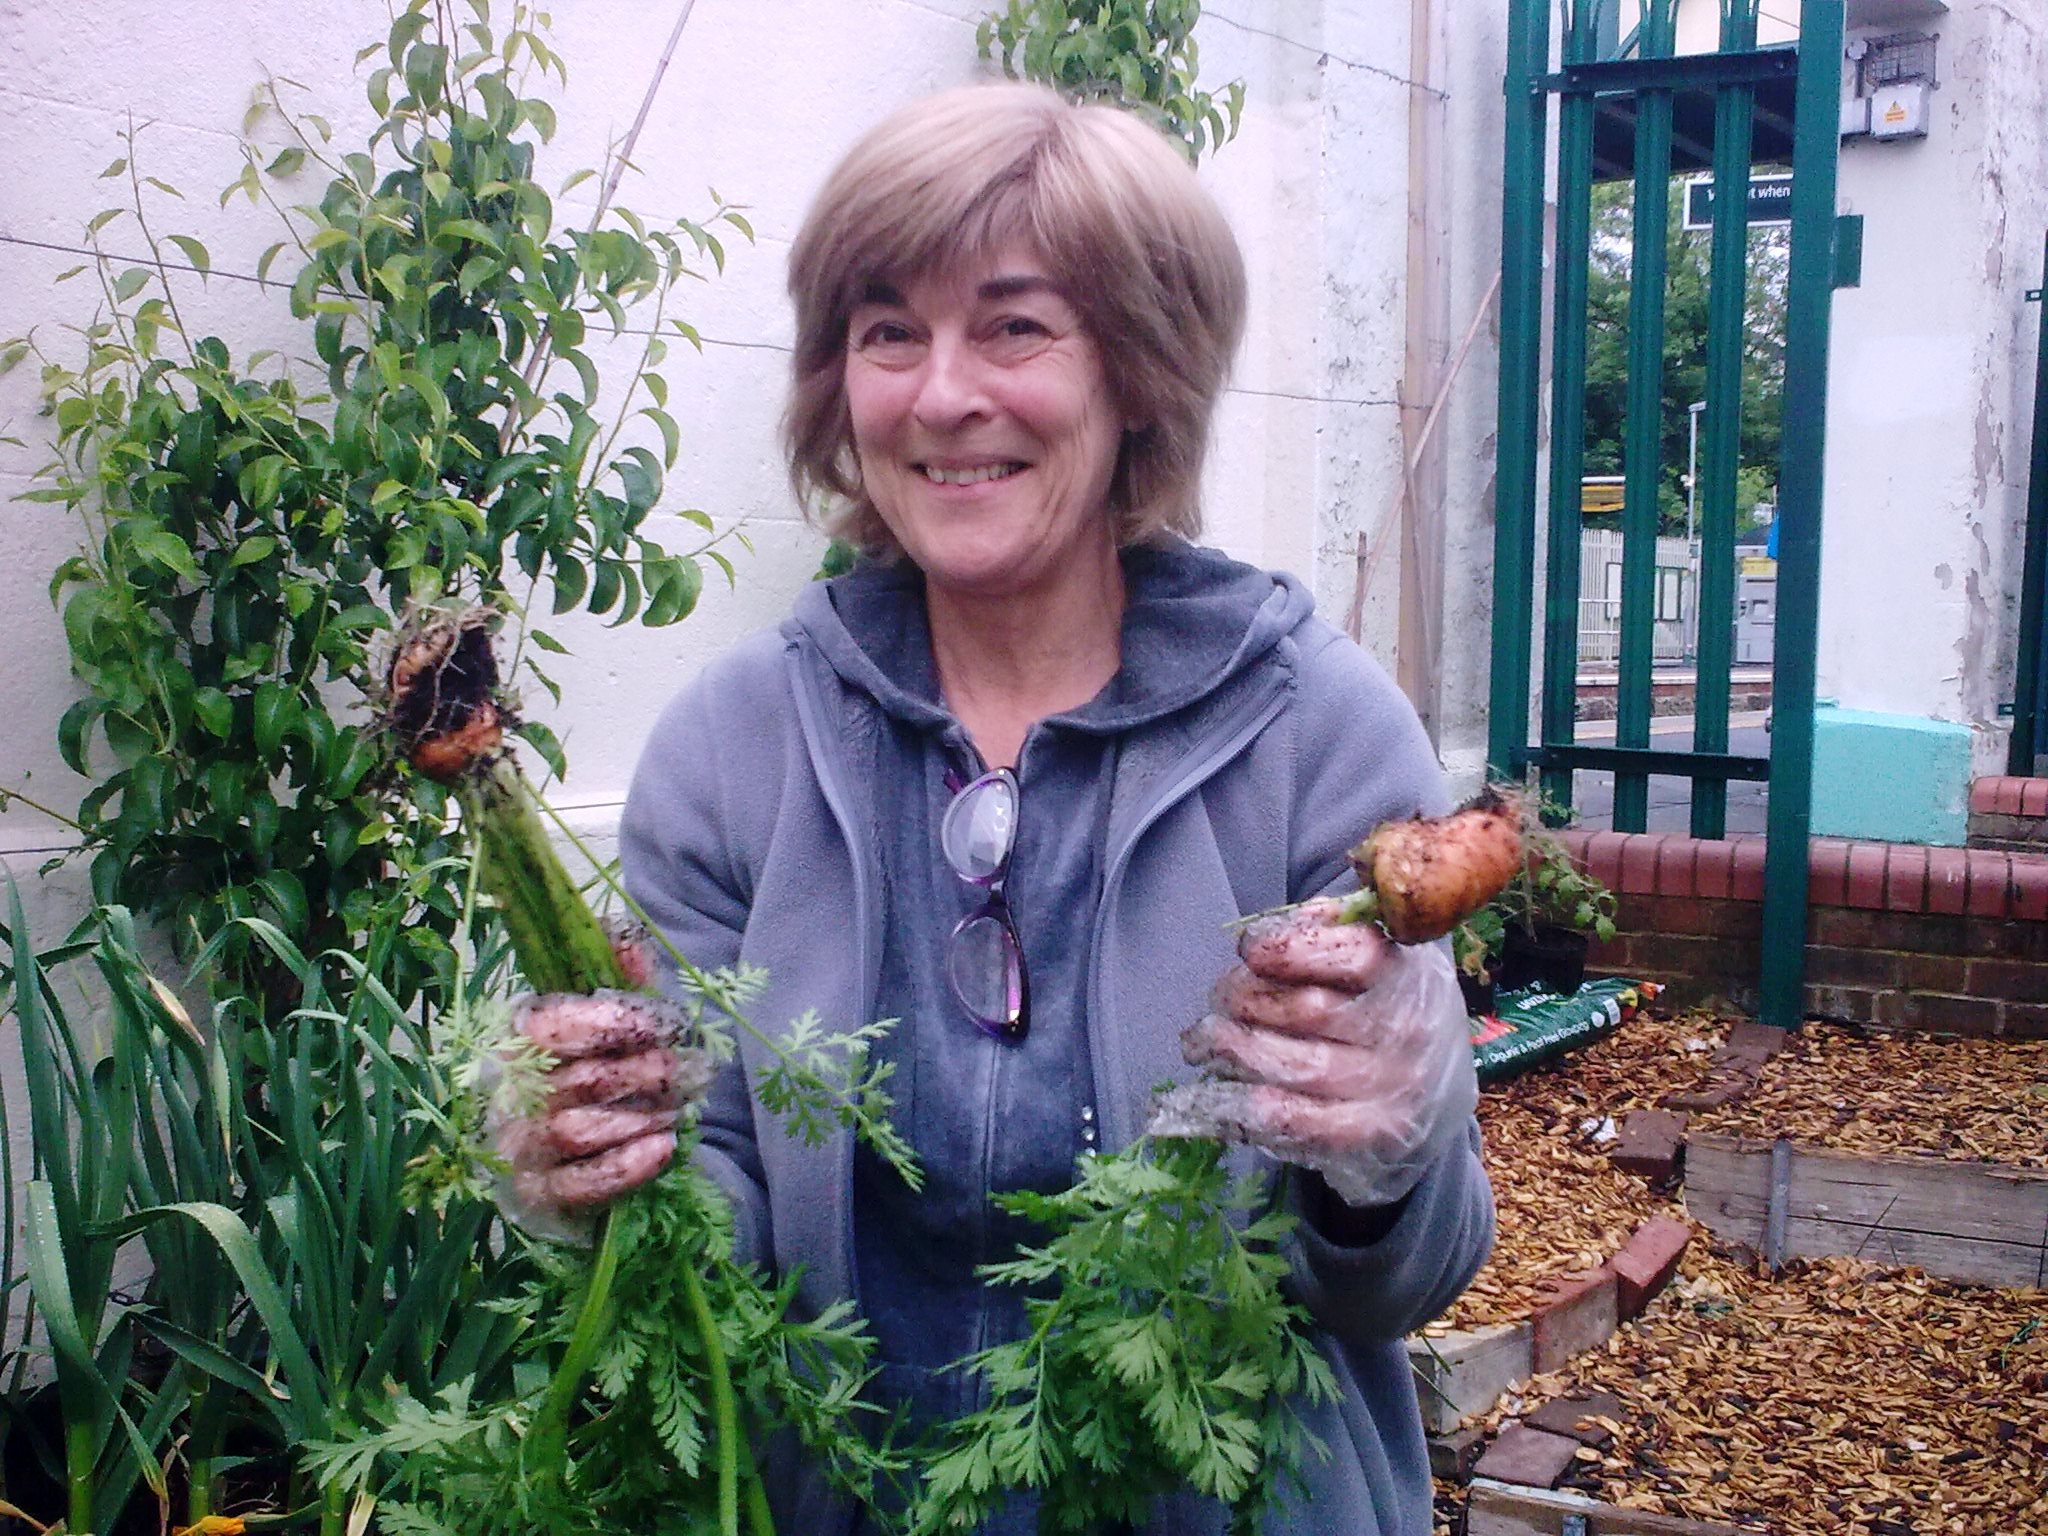
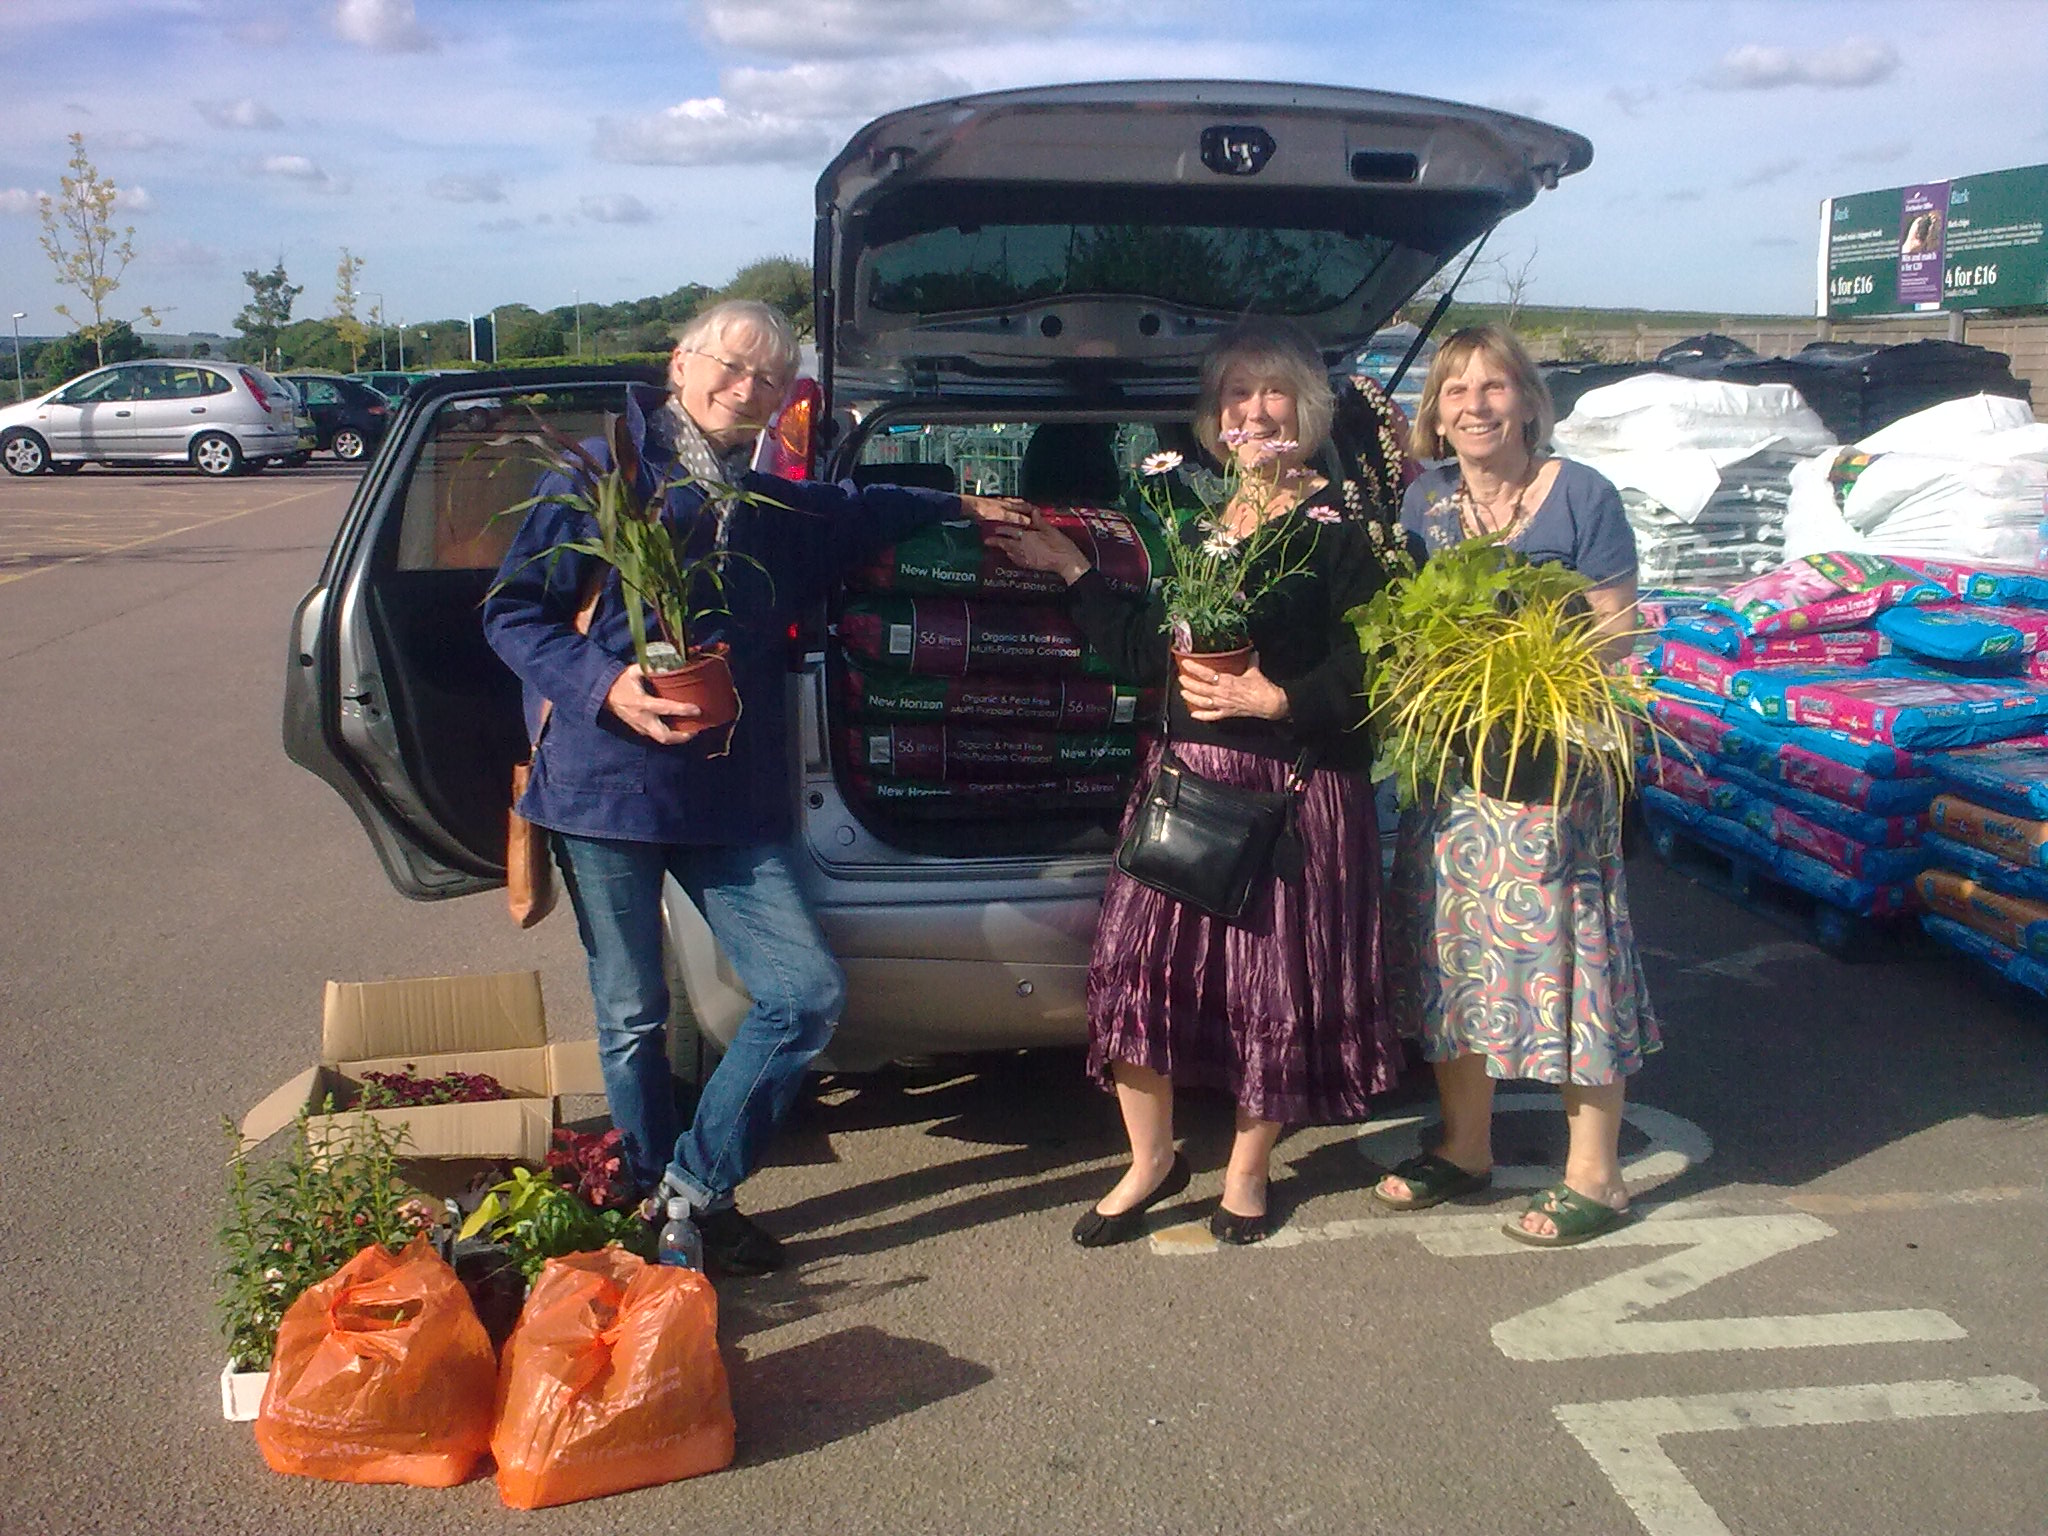
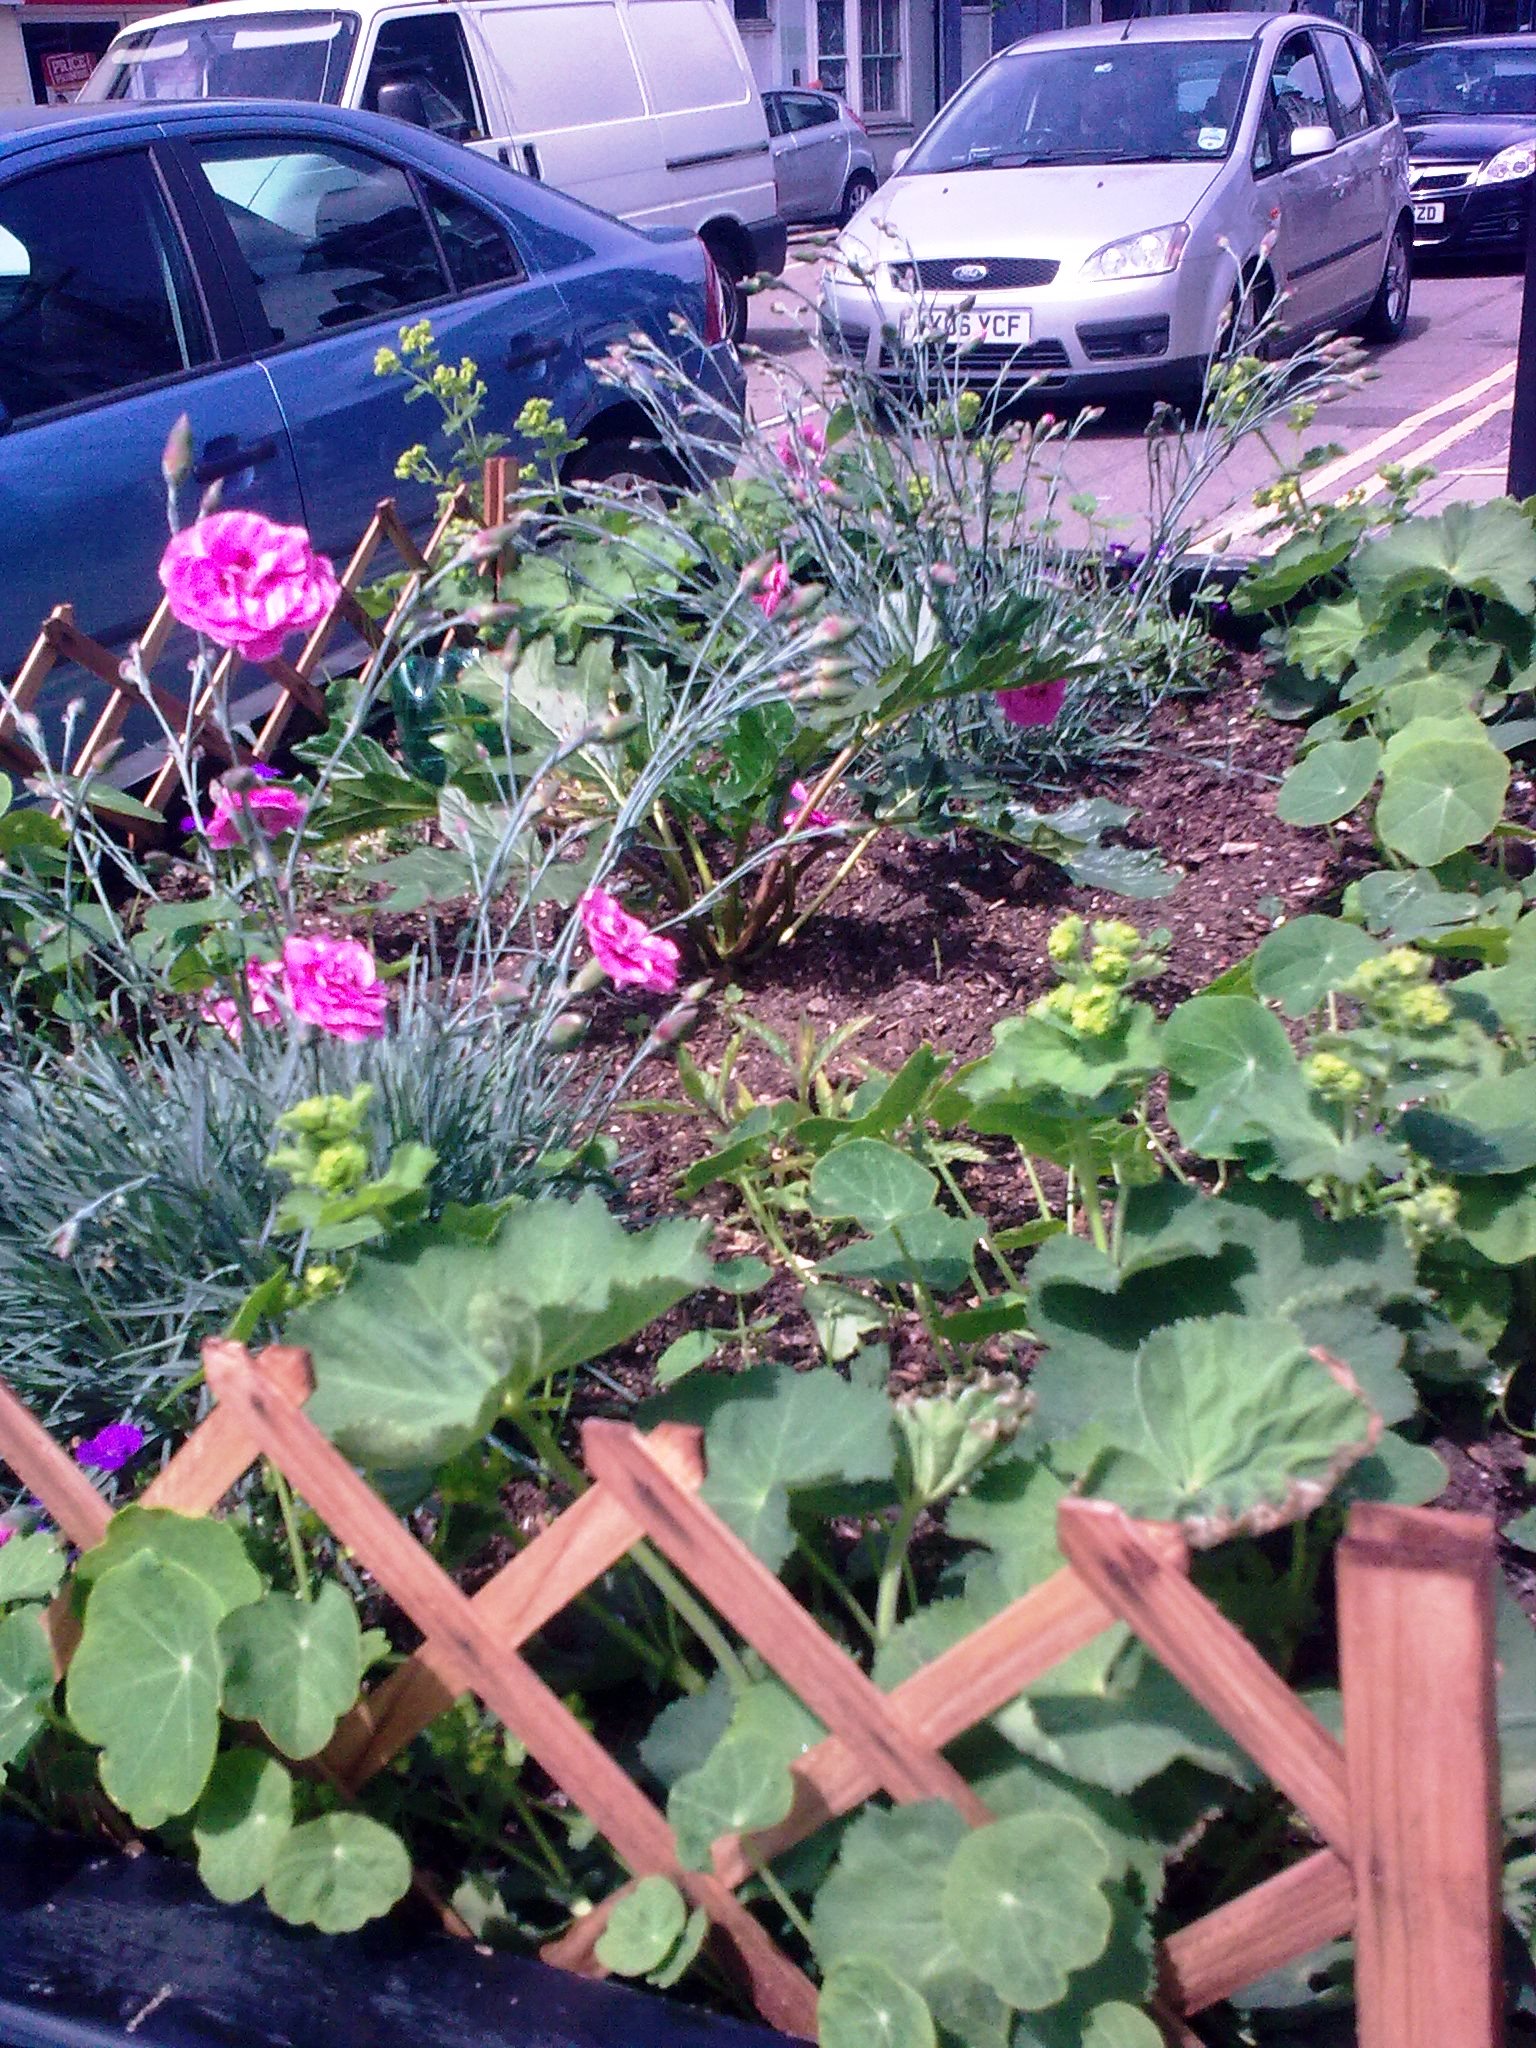
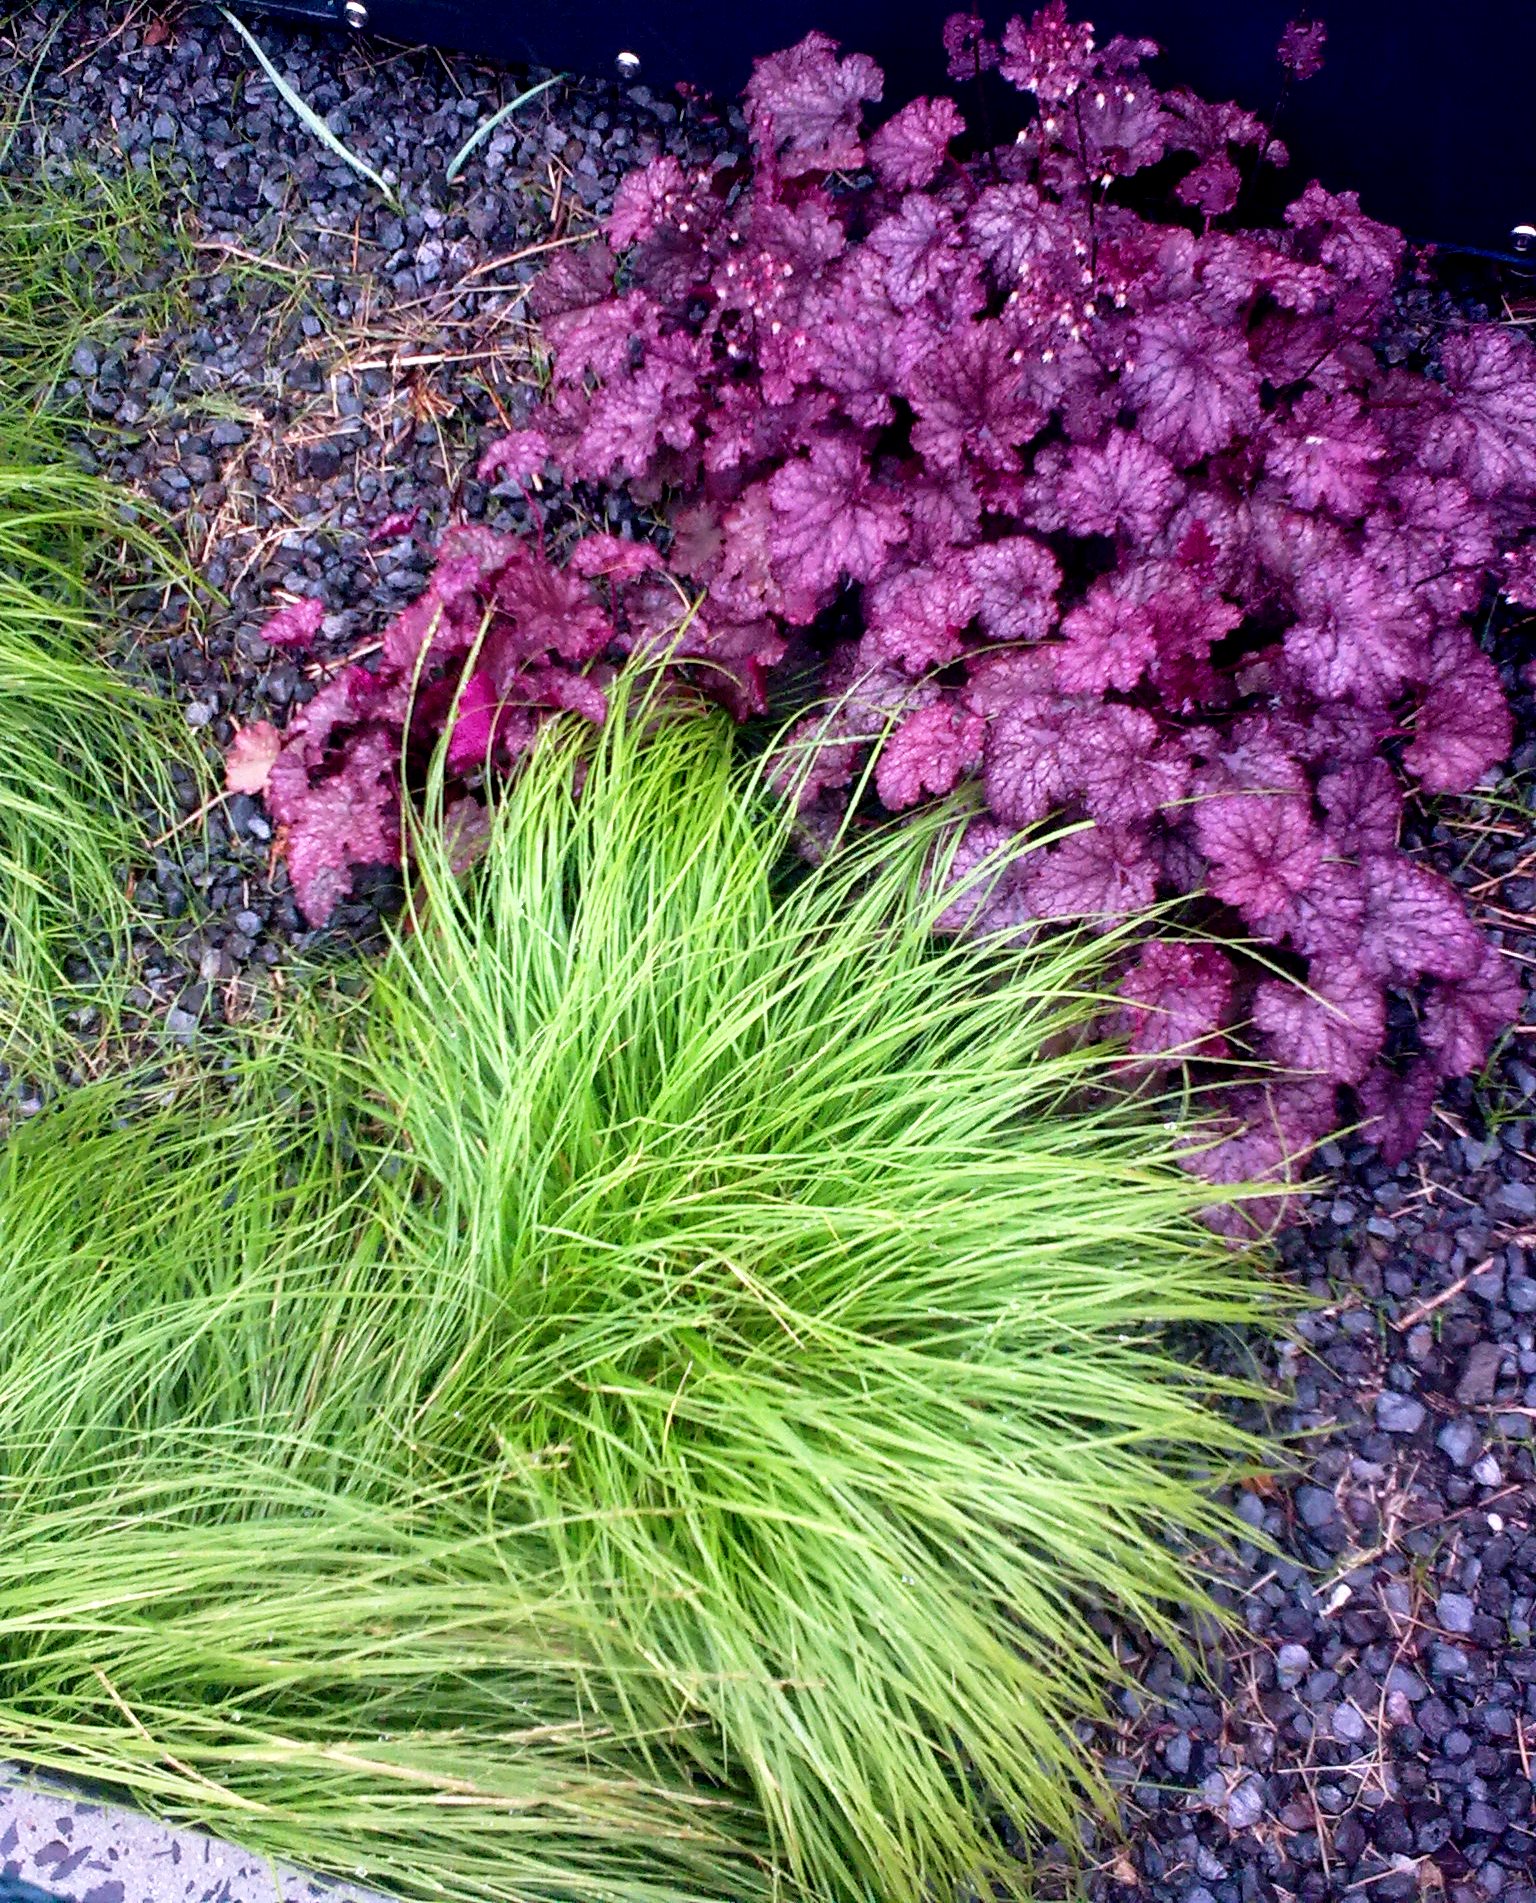
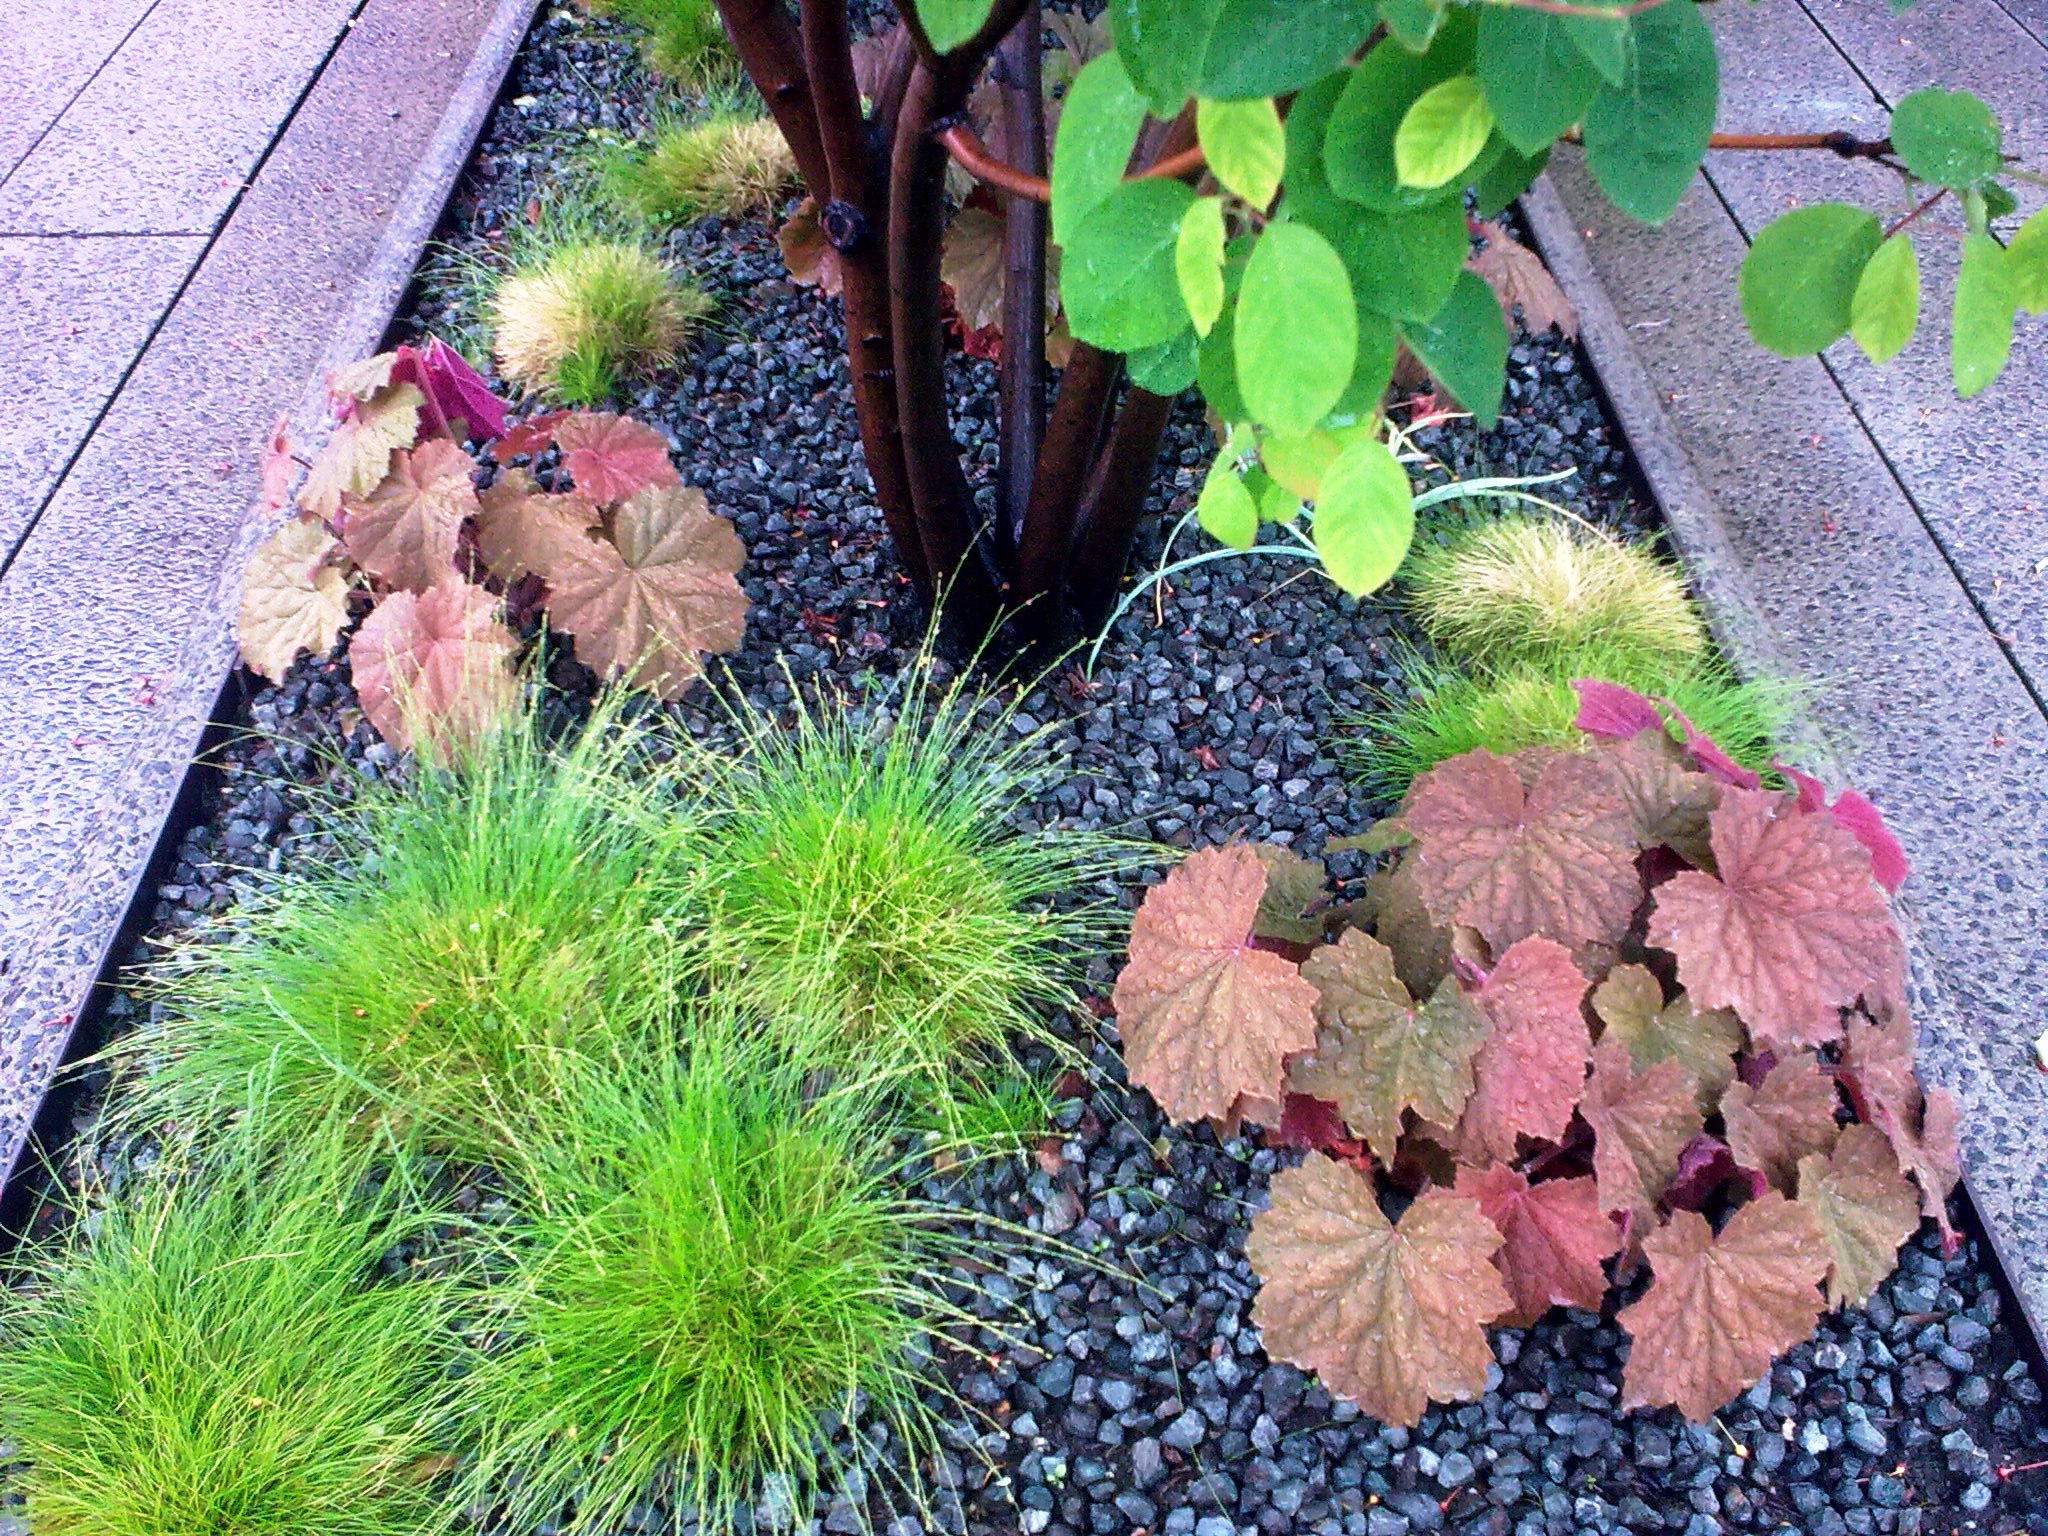
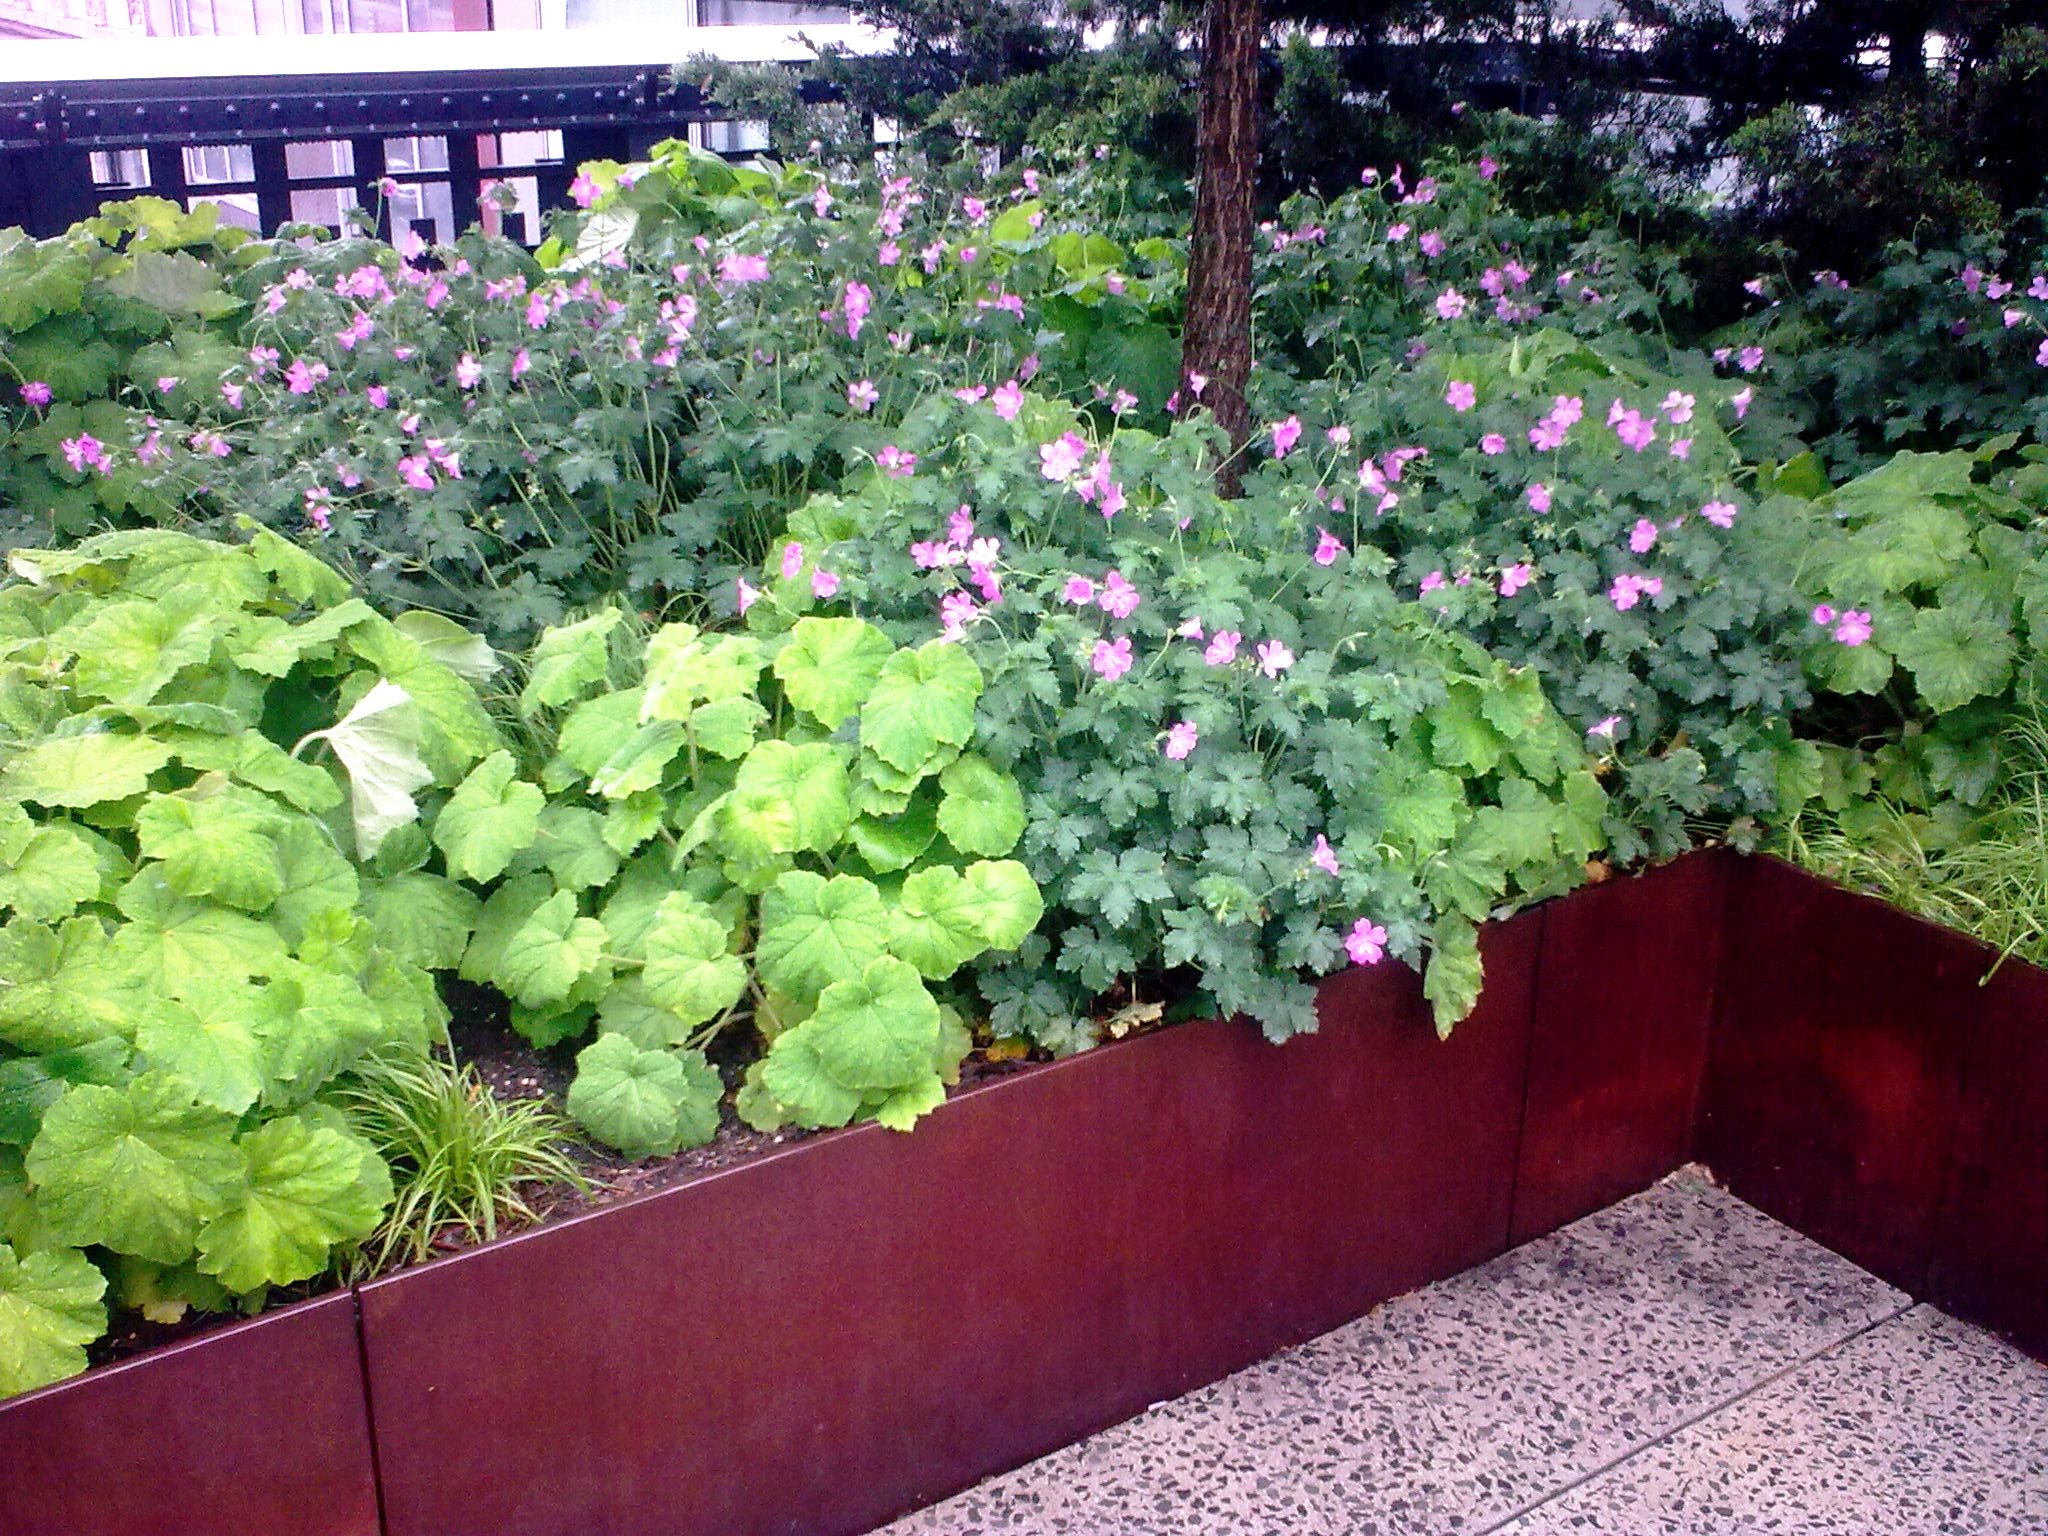
It’s suddenly got hot. Temperatures have now been going over 20C for about 10 days. The French beans and the courgettes have perked up. But we haven’t had much rain for about 10 days. On Tuesday, our four water butts ran dry.
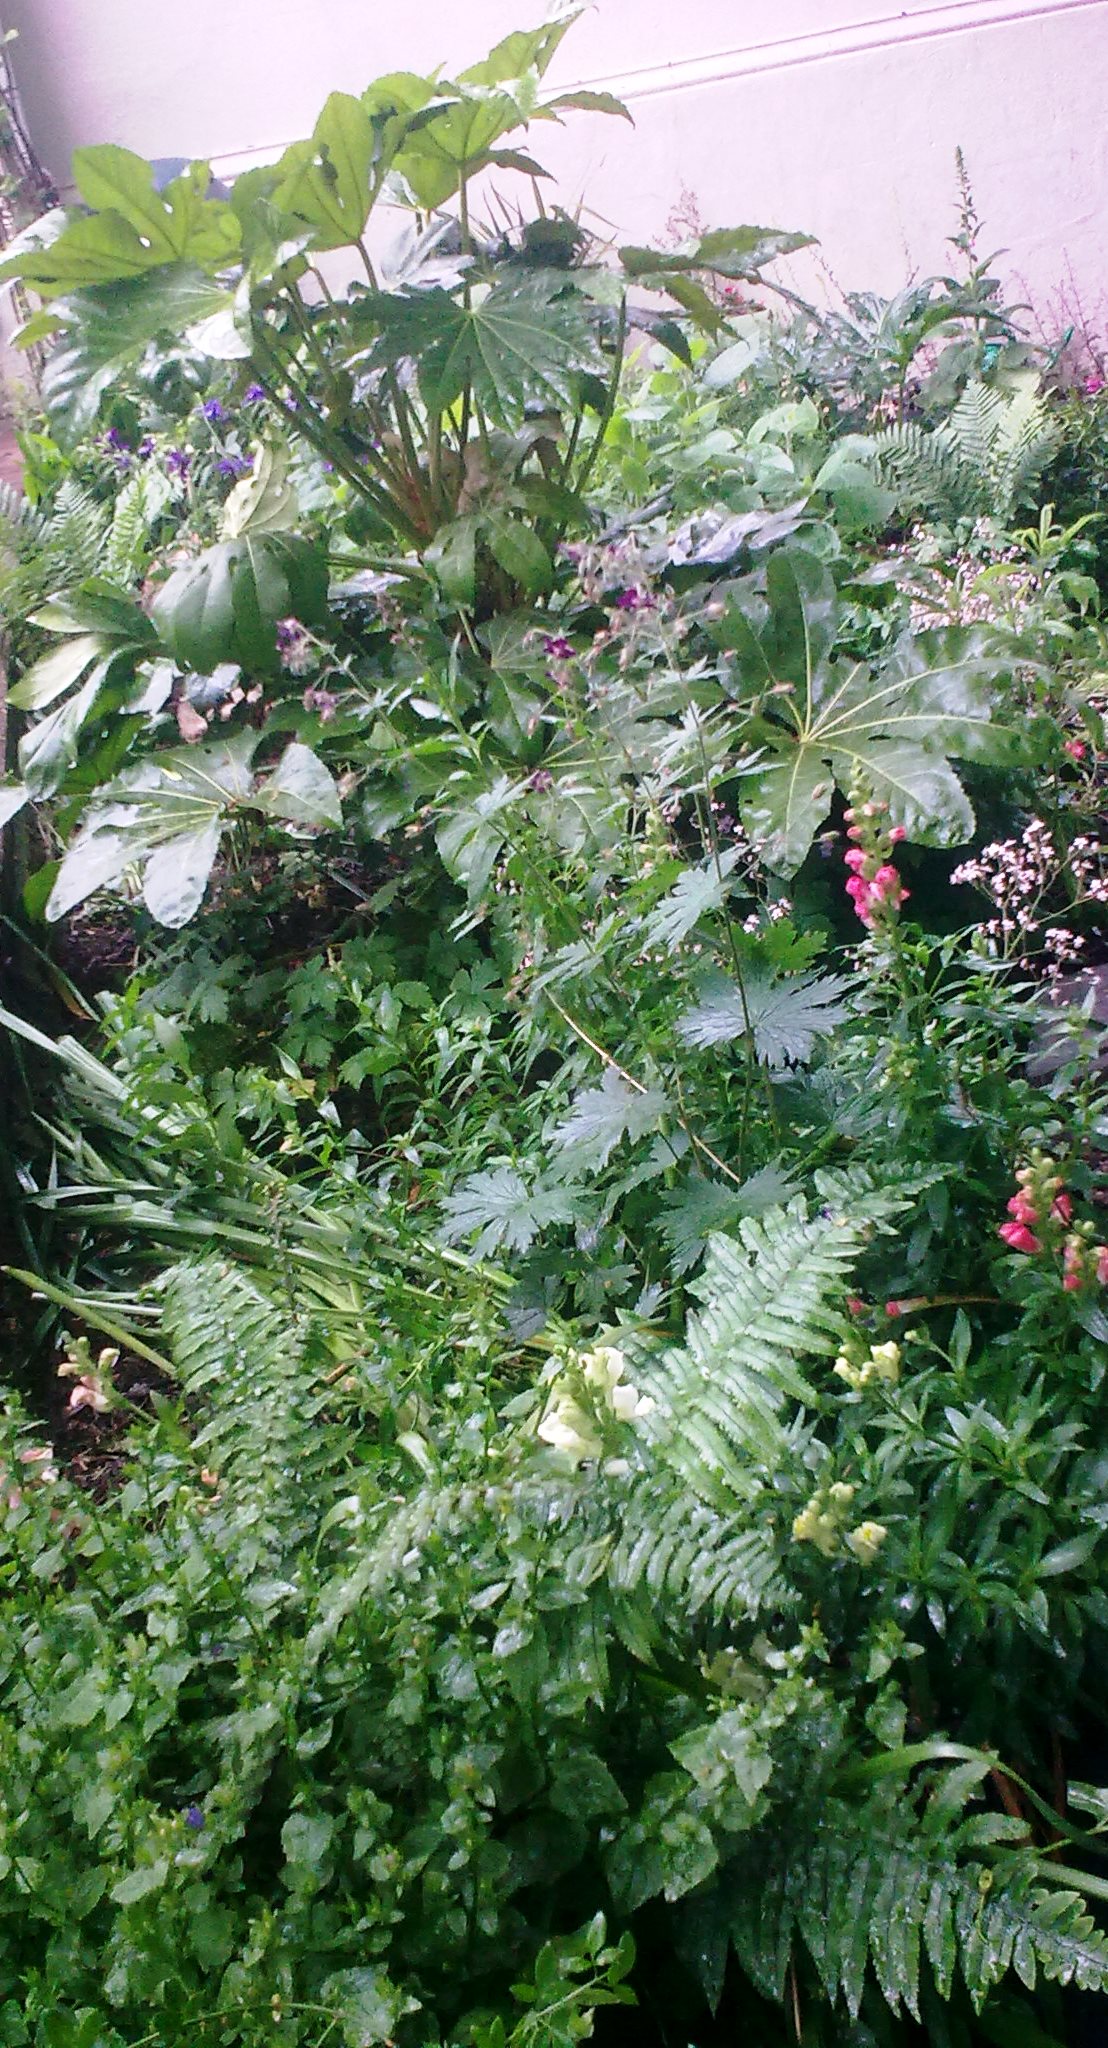
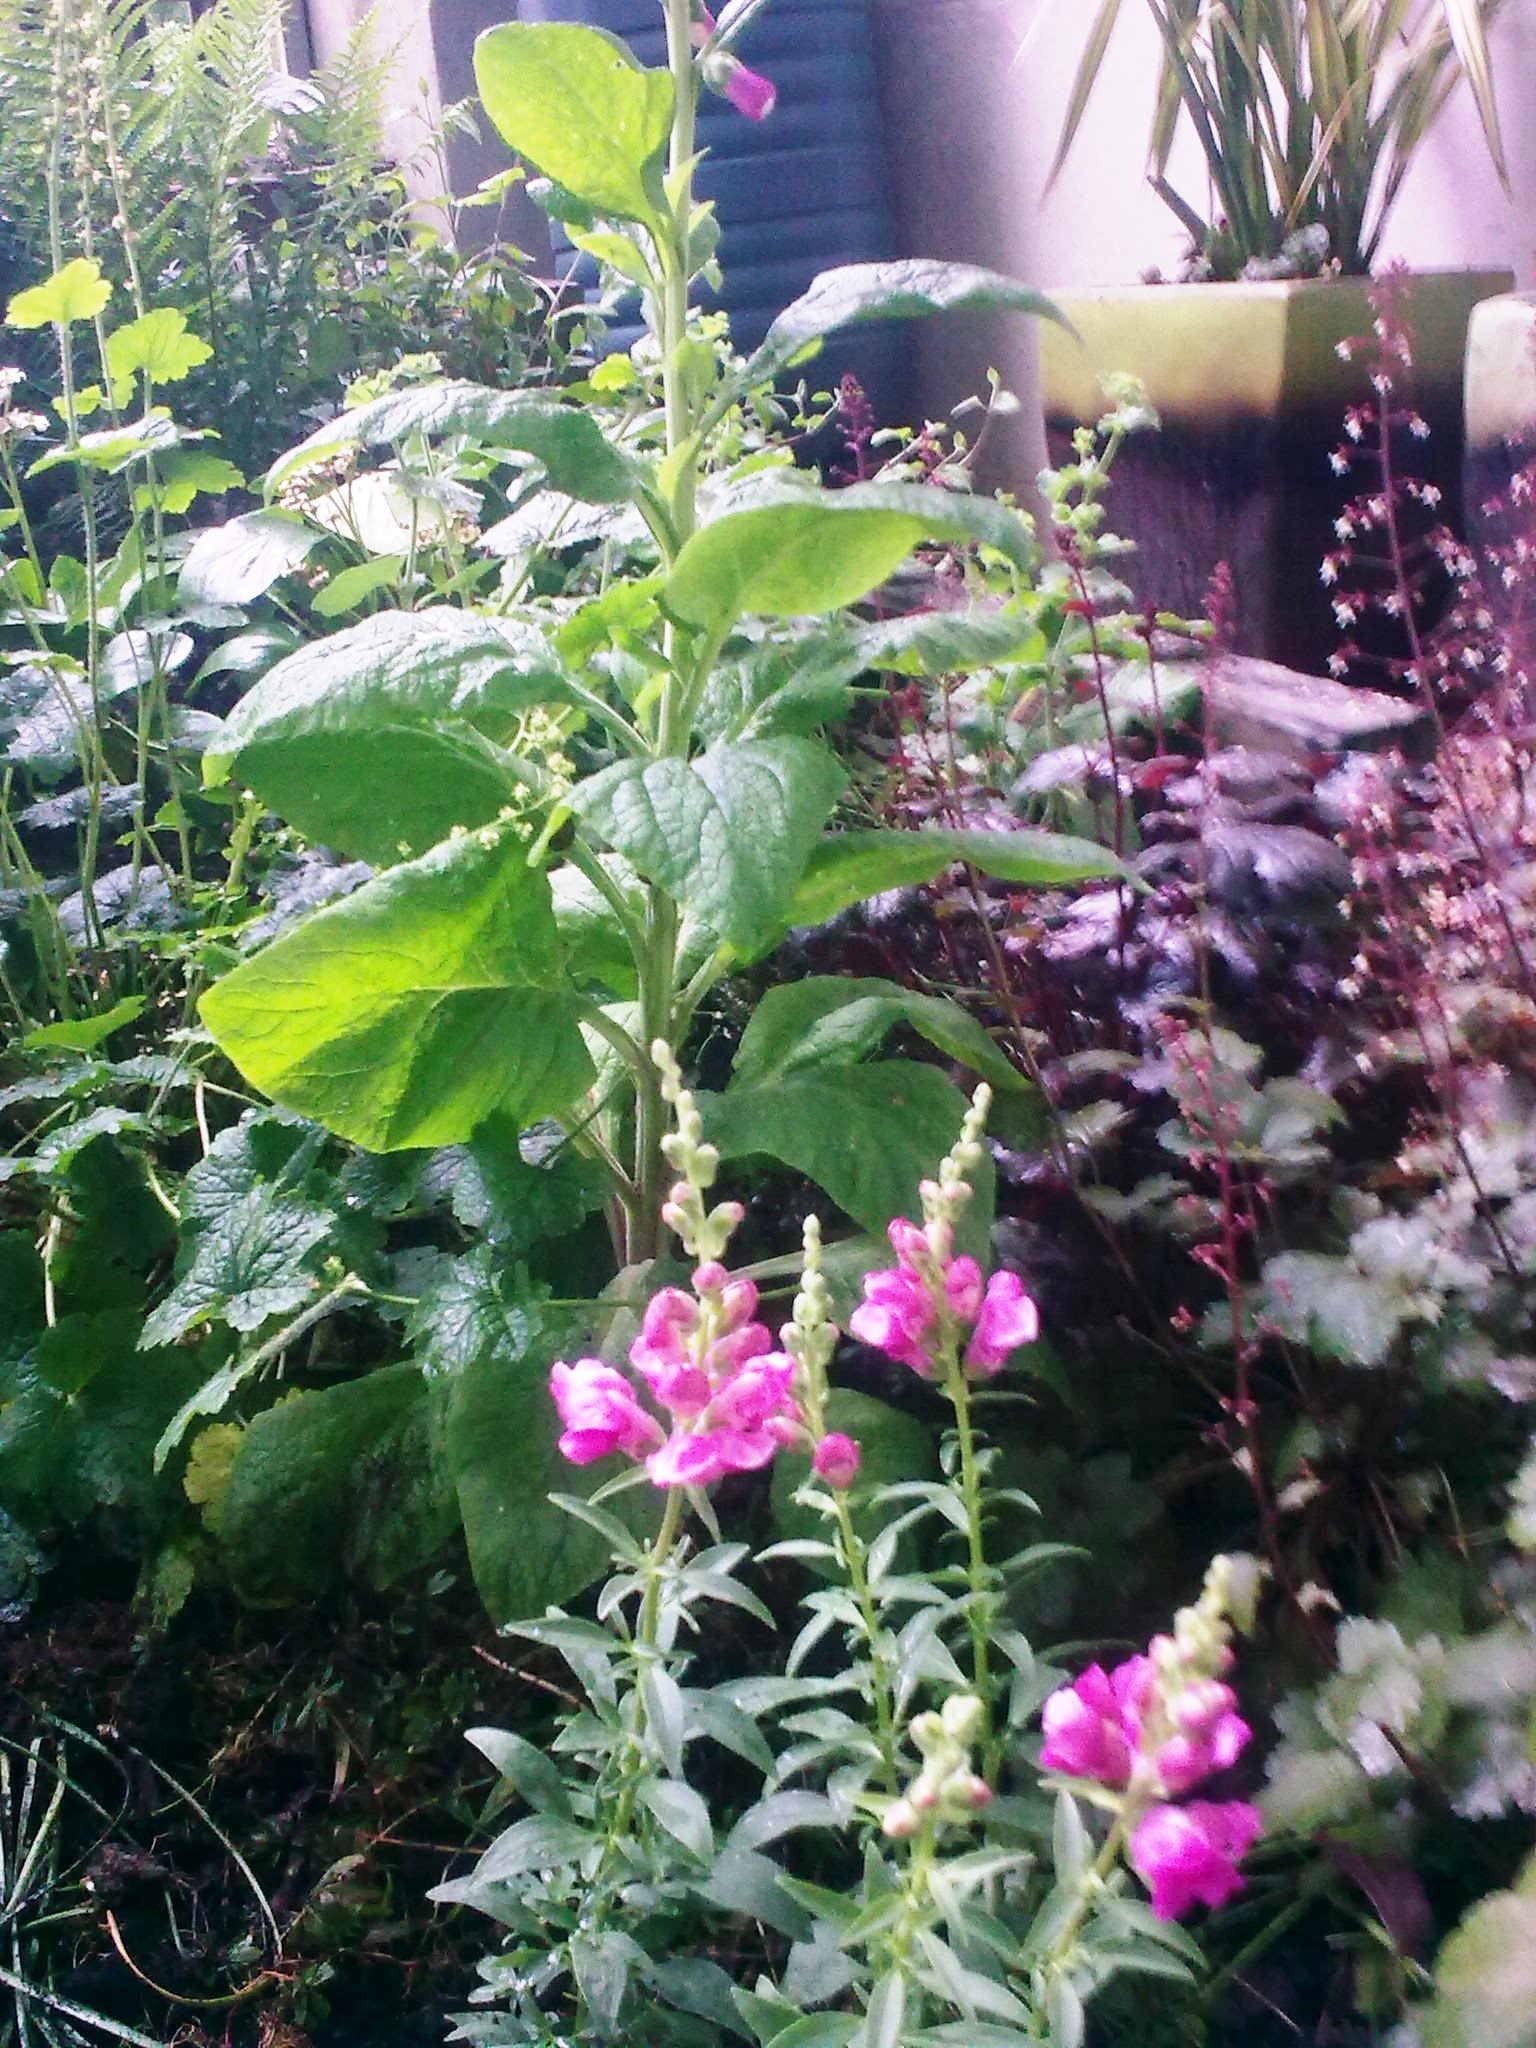
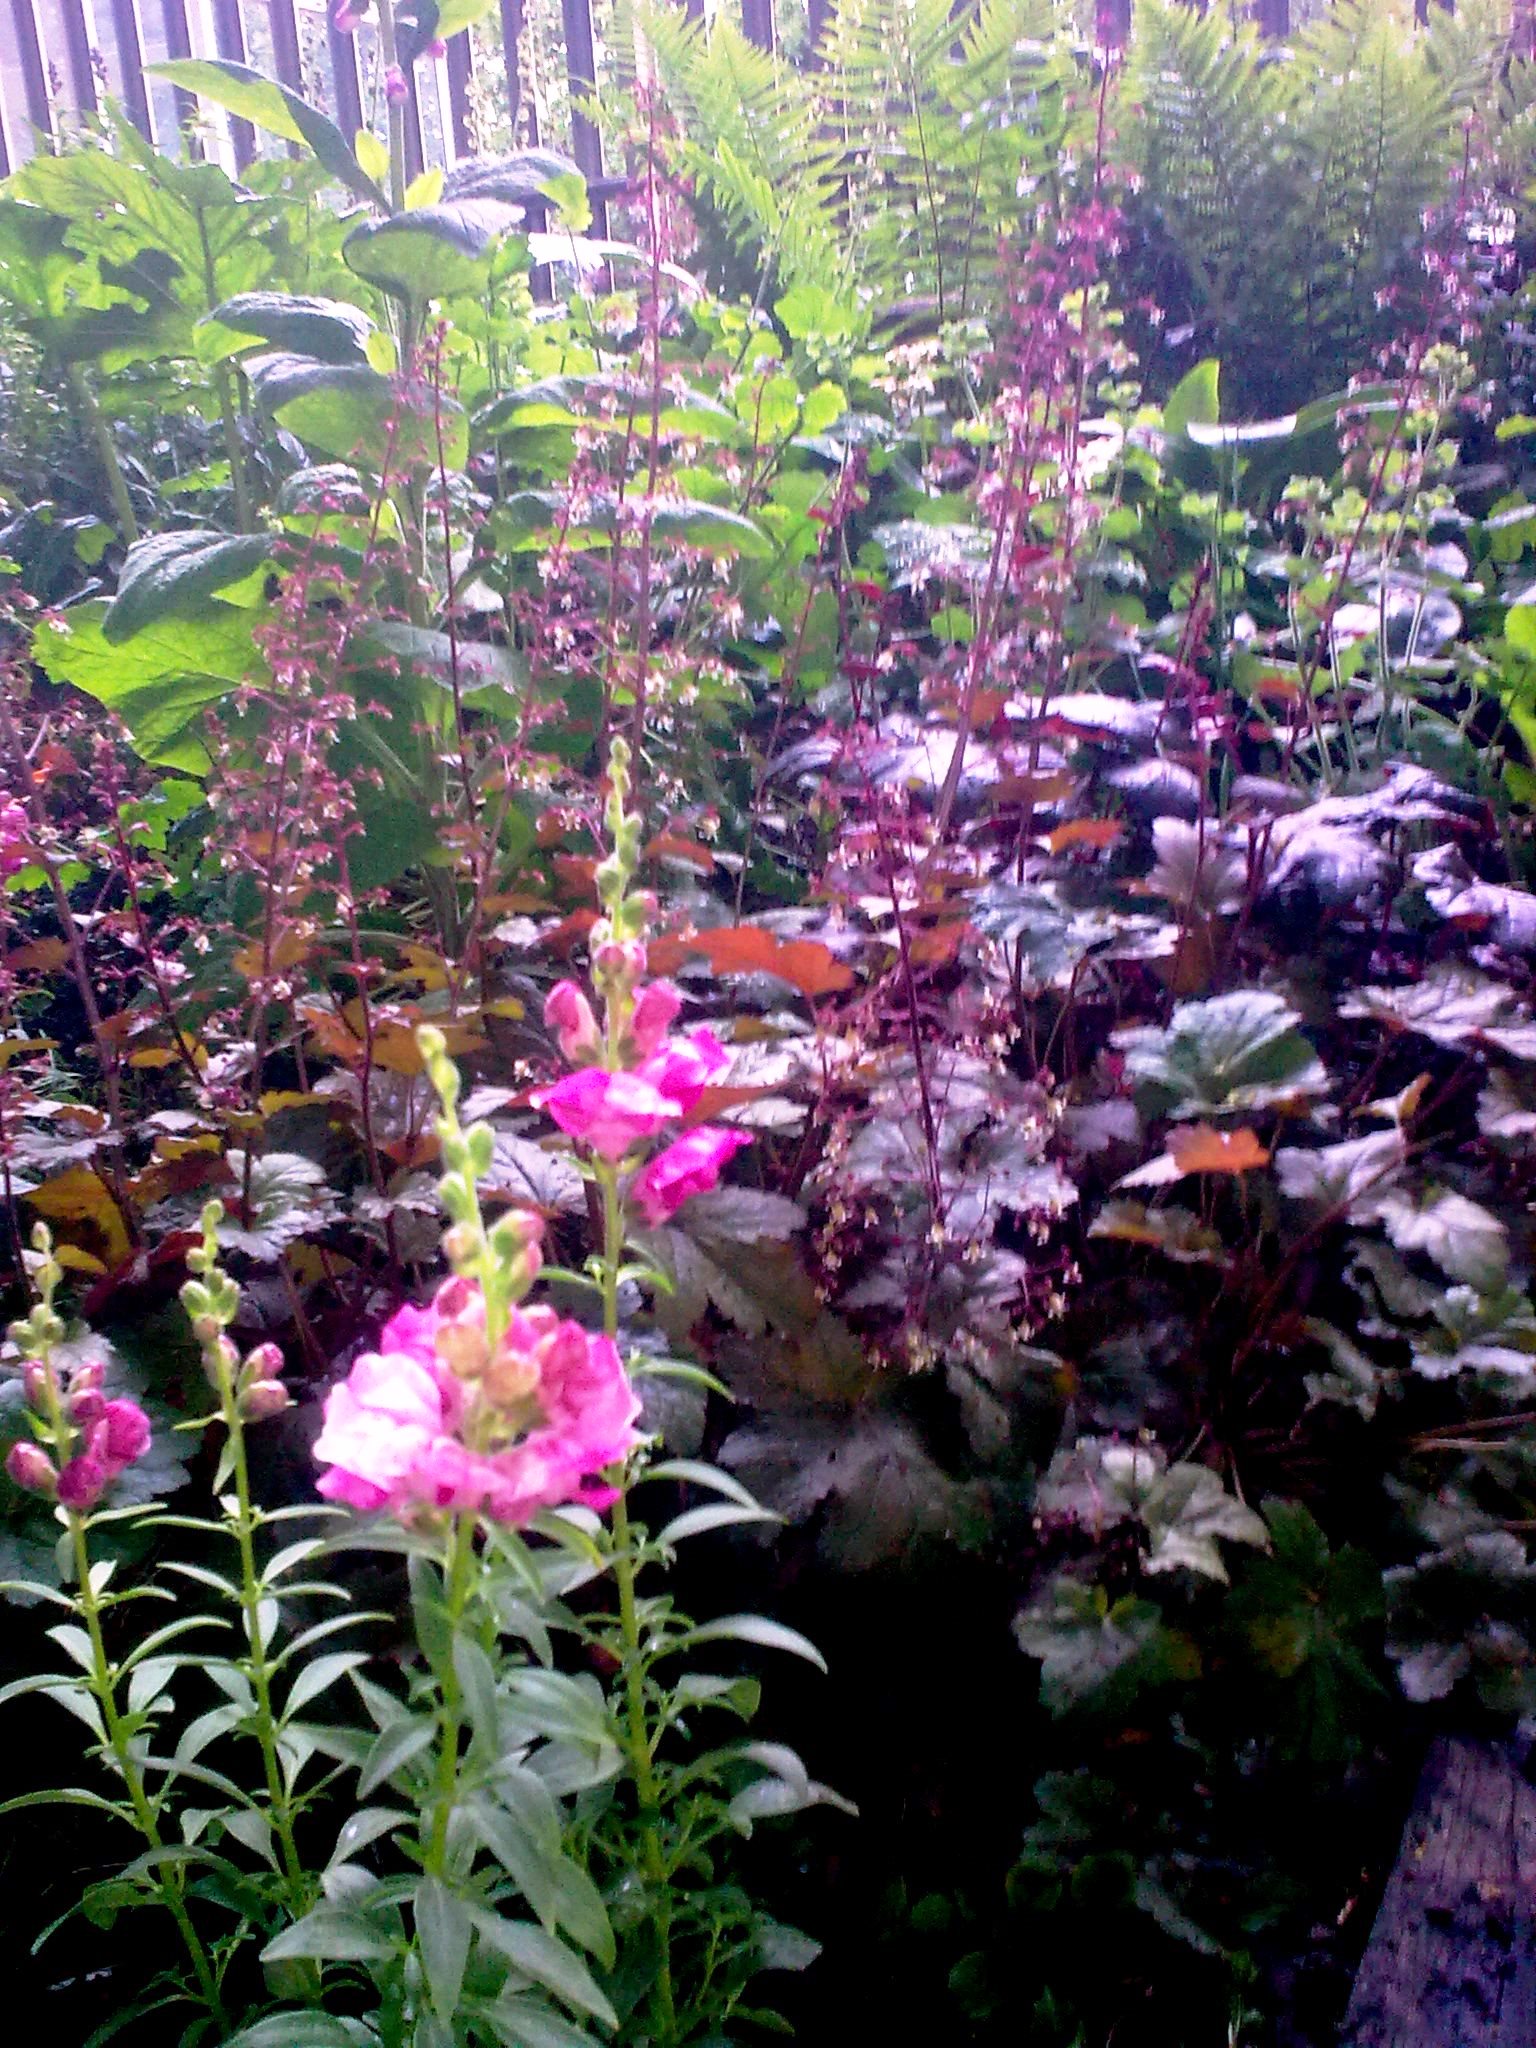
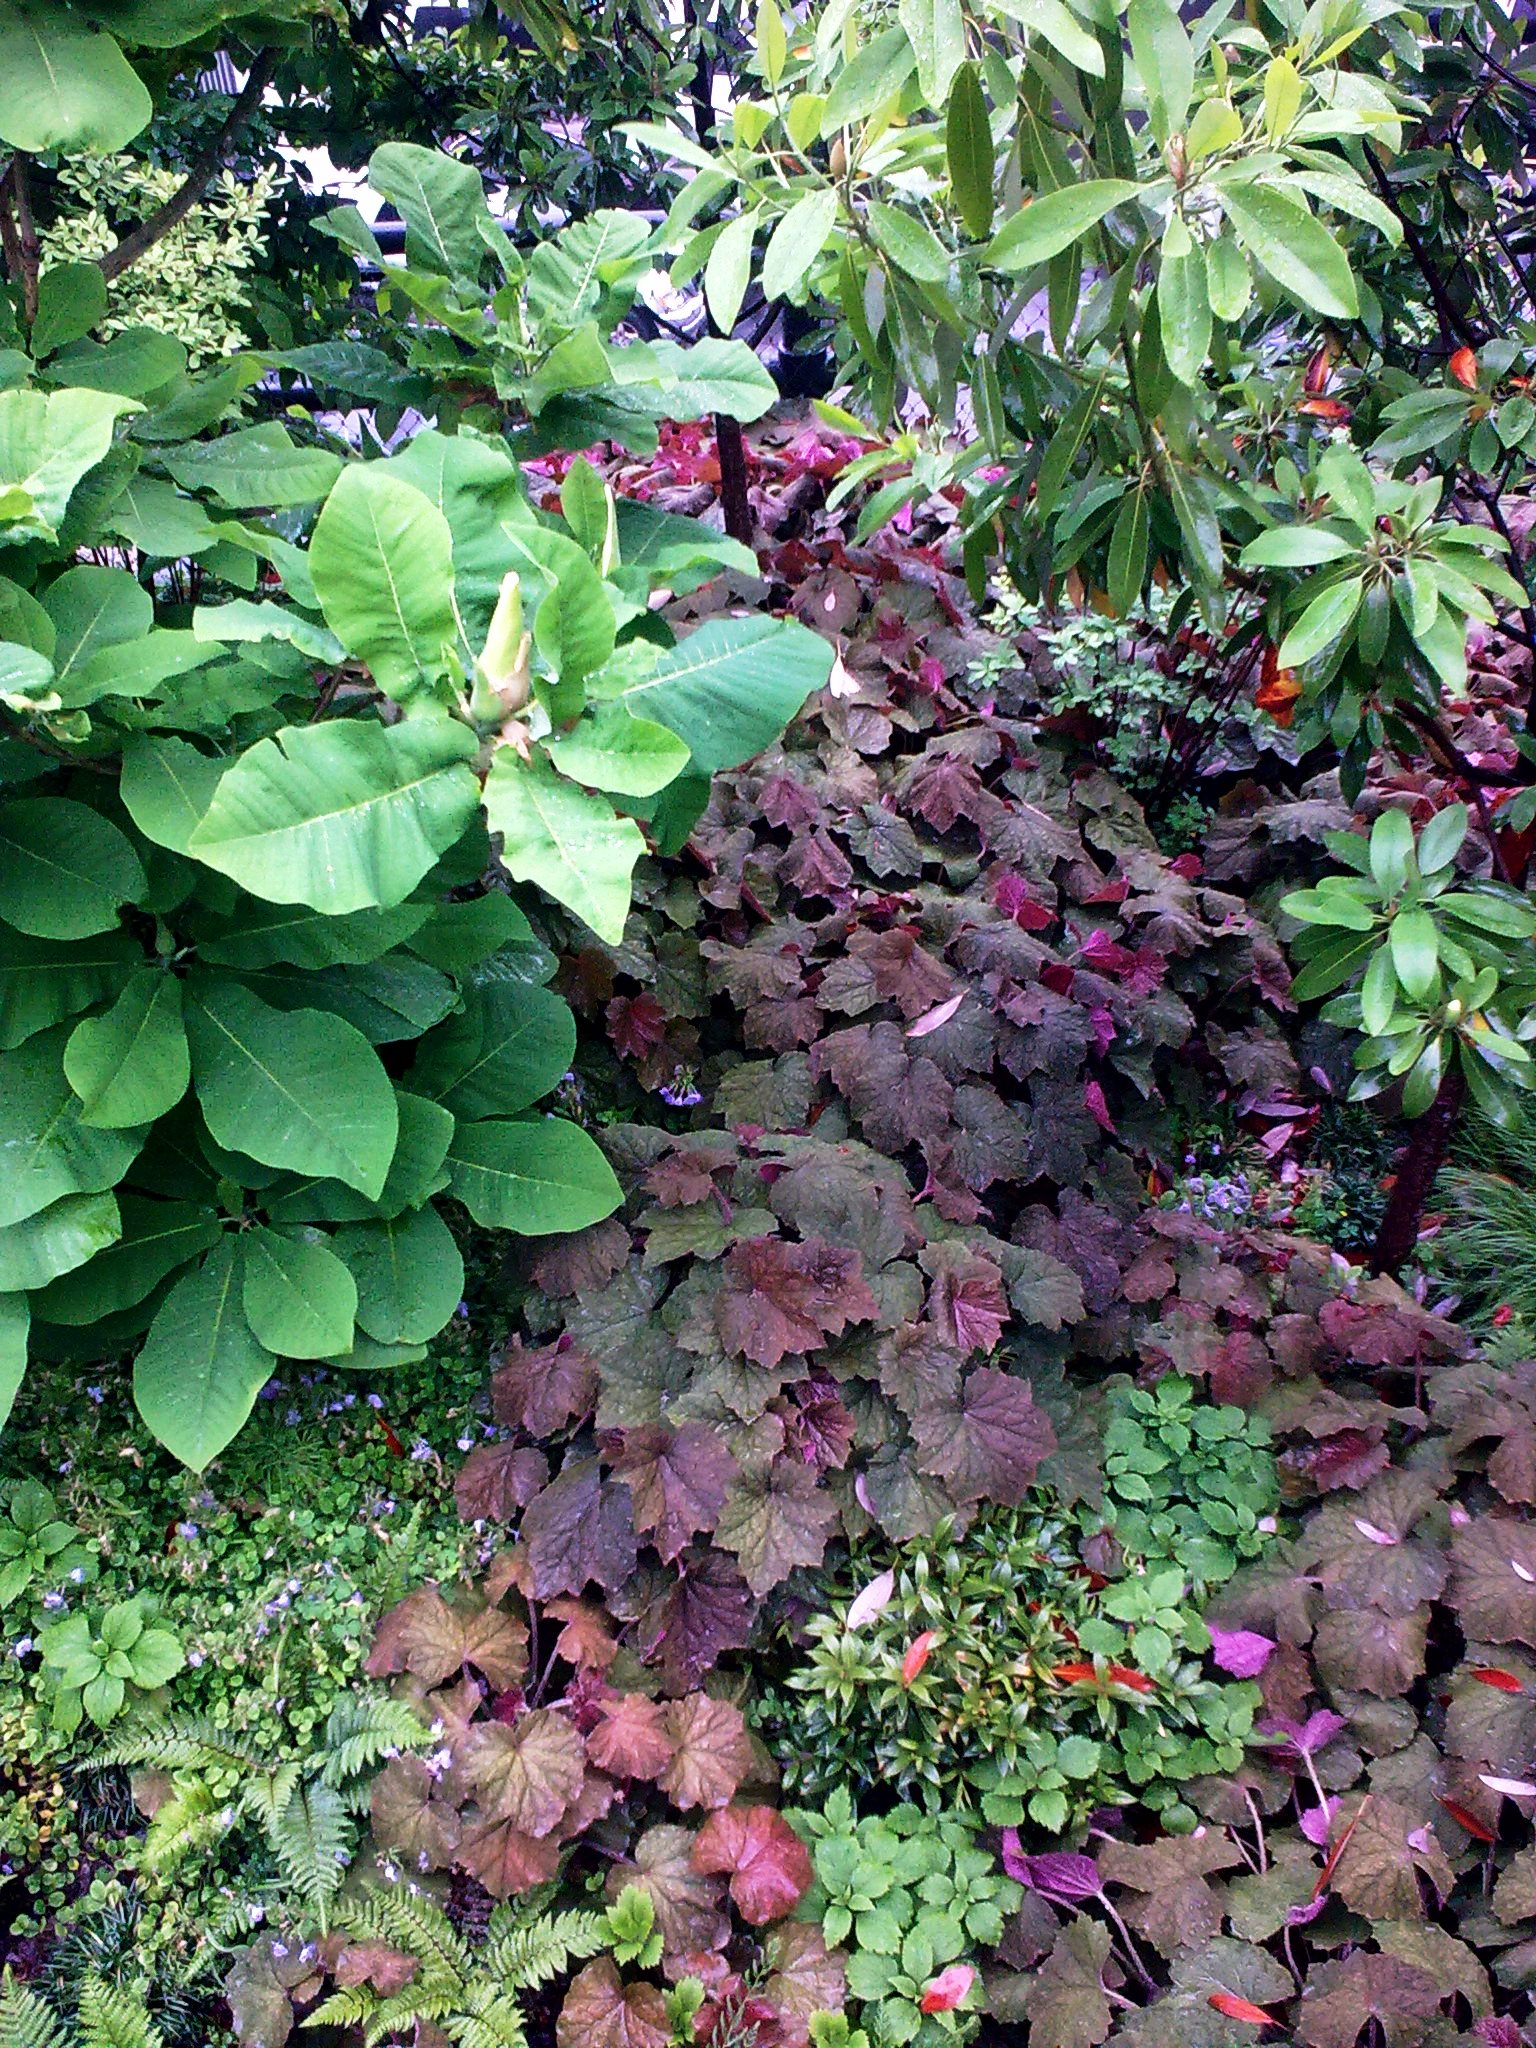
We’ve had to fill them up from the mains with a hose pipe trailed from Madeleine’s house. We took advantage of this arrangement to try to give both gardens a good soak. The shady garden also needed a shower to rid leaves of the horrible sticky sap dripping from the overhanging sycamore trees. This led to much discussion about what ‘a good soak’ or ‘proper watering’ is, and where the water should be directed. Here’s the long and short of it.
How much? LOTS REGULARLY, NOT LITTLE AND OFTEN
We often give too little water to each plant. A useful rule of thumb says ‘slowly count to 10’ when watering any plant. A passing spray is no use at all, and can be positively risky for the plant (see below). Shallow watering encourages roots to grow only on the surface of the soil, which will weaken the plant’s ability to withstand wind and limit its ability to find moisture and nutrients. So a ‘good soak’ regularly, rather than little and often. Use the finger test: if the soil feels dry at the end of your finger when you press it into the soil, then it needs watering thoroughly.
Can we be more scientific on how much water a garden needs? Some websites suggest 1 inch per week; 60 gallons (that’s around 30 watering cans) for a 100 square foot/11-12 square metre garden.
When? EARLY MORNING
Obviously, for watering to be most efficient, it needs to be done when evaporation is least: early morning or late afternoon. It looks like early morning is the best time, for two reasons: 1) damp conditions at night attract slugs and snails, and 2) damp foliage can promote the development of fungal diseases, so leaves should have time to dry off before night fall.
Where? ROOTS NOT LEAVES
It’s the roots that need the water, not the leaves. Water needs to go into the soil with as little splashing onto the leaves as possible. Splashing increases the risk of water-borne pathogens in the soil infecting the plants; and again, damp foliage can be susceptible to fungal disease.
How? GENTLY
A dripping hose – i.e. a hose pipe with small holes in it – is probably ideal: water gradually drips into the soil over an extended period of time. But for us, that’s not really possible. Things to bear in mind are: 1) over-energetic watering, for example with a high-pressure hose setting or strong stream from a watering can, can badly damage plant roots. On the other hand, 2) spray can be ineffective and if it splashes up from the soil, can promote infection. So regular and gentle, not disturbing the roots.
What to do with very dry soil
When soil dries out, it loses its ability to absorb water, thus compounding the problem of drought. Organic matter absorbs water so is crucial to the water-holding capacity of the soil. That’s why we incorporate compost, manure etc. And of course, mulches on the surface of the soil prevent evaporation.
If soil does dry out, it becomes rather like concrete and dust, and plants won’t be able to access anything from it. The best thing to do is to gently water with a fine rose and then return about 30 minutes later to water more thoroughly. The initial watering helps the soil to absorb water. Pots need to be placed in a container of water until bubbles appear on the surface.


